BIOS SETTINGS
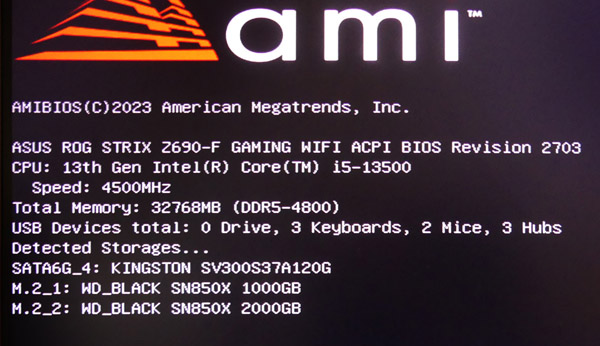
In this motherboard you enter the BIOS by pressing F2 at the beginning of the boot process, just when the tiny PC speaker "beeps".
In my opinion, deciding for and setting the BIOS alternatives is the most time-consuming part of assembling a new gaming PC. In the Asus STRIX motherboards the settings are hundreds, and in many cases their meaning is obscure: often not even searching the web one gets a satisfactory suggestion, let alone an explanation of what a particular setting is about.
Having written down a line or two about every single setting and researched it online thoroughly, I agree with the common online suggestion: most settings are best left as the motherboard sets them by default. Also, some settings allow no change at all. Very importantly however, iIn quite a few settings I find it better to select manually an alternative different from the default one.
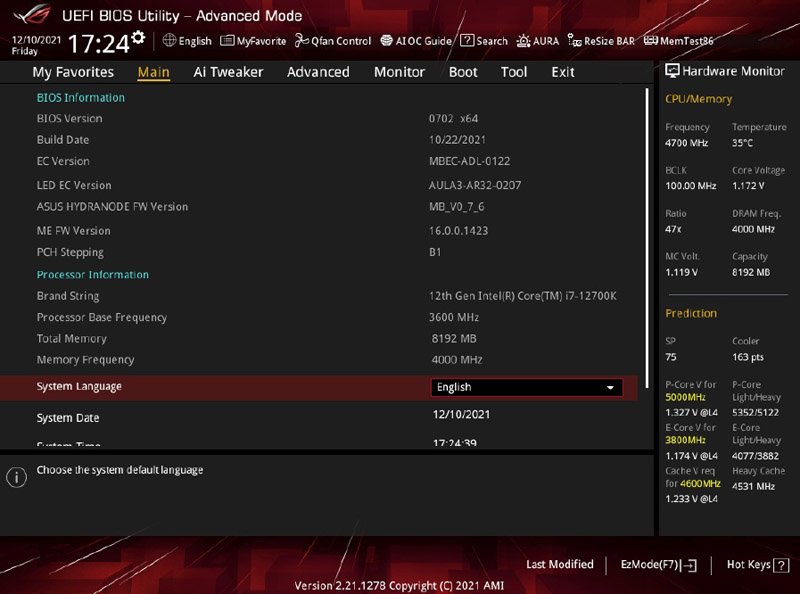
In the picture below you can see the "initial" BIOS screen where you can select the different sections by means of tabs. You can navigate the BIOS using ony the keyboard, but it will work fine with any USB plugged-in mouse (not so with wireless ones at this stage).
See my suggestions below.
AI Tweaker tab
SVID Behavior (protocol to control the CPU Voltage): these are the alternative settings:
- Auto is the default value. Unfortunately it is reported to be risky, it may overclock and BSOD.
- Best-Case Scenario, 1.2 V, reported to be unstable, suitable only for top quality CPUs.
- our suggestion => Typical Scenario 1.3 V max.
- Worst-Case Scenario 1.4 V.
- Intel's Fail Safe 1.53 v, stable but running.
- Trained 1.3 V.
DRAM Frequency: default Auto yields only 4000MHz, which is in error. Selecting the DIMM specs "DDR5-4800MHz" yields the correct 4800MHz. This prevents any Manual settings of Primary Timings, but anyway they are correctly set, as shown by the values for our DIMMs:
DRAM CAS# Latency, DRAM RAS# to CAS# Delay, and DRAM RAS# PRE Time: all set to 40.
DRAM RAS# ACT Time: 76 (the memory strip label reads 77, an insignificant difference).
Advanced tab
Most of these items may be Disabled by default! Very safe, but also no power saving!
Platform Misc Configuration
PCIe Clock Gating: default Enabled, saves some cycles but can lead to errors. Set to Disabled.
CPU-Power Management Control p.54
Boot Performance Mode: after Windows install, best set to Turbo for a faster boot.
Graphics Configuration
Primary Display: with the 13500 CPU initially you select "CPU Graphics".
Once you install a dedicated graphics card, you set this setting to "PCIE".
Thunderbolt Configuration. This is a newly-fangled connection using USBC plugs but much faster. Only the latest Monitors and external drives support it.
PCIe Tunnelling over USB4 is Enabled by default. If you do not use Thunderbolt, you can Disable it.
PCI Subsystem Settings
Re-Size BAR Support: this lets CPU to access directly GPU VRAM, enhancing some games to run up to 20% faster. Best Disable for initial boot with CPU-integrated graphics, then Enable for a dedicated graphics card that supports this setting, for example AMD RADEON from RX6000 series onwards.
USB Configuration
Legacy USB Support: Enabled by default, it can slightly degrade performance. You can safely disable it unless you see that the PC cannot "see" an old but necessary USB device.
Onboard Devices Configuration
USB power delivery in Soft Off, Enabled by default, providing power to USB even with PC asleep. Unless needed by some particular device, this is a waste of power. I set it to Disabled.
M.2_4 Configuration (obvious when needed).
Intel Rapid Storage Technology: this is needed only for RAID; otherwise best avoid it: it is reported to cause issues when debugging.
Monitor tab
CPU Q-Fan Control, default AUTO, but if the CPU cooling fan carries a 4-pin PWM connection, set this to PWM.
CPU Fan Profile, I prefer to leave it as Standard.
CPU Fan Step Up, default 0, I set 1.
CPU Fan Step Down, default 0, I set 1.
CPU Fan Lower Limit, depends on the fan, if the limit is too low it produces a BIOS error: if so, raise it until the error is no longer produced.
Boot tab
Secure Boot Protects system from unauthorised access during POST. Win10 install may disable it.
OS Type: for proper boot ensure "Windows UEFI" is selected.
Save all Secure Boot Variables (in an inserted USB2 key)
Boot Configuration
Fast Boot: initially Disable this for best BIOS debugging. Once Windows is installed and works OK, set to Enable for faster booting.
Next Boot after AC Power Loss: This is what happens after AC power loss. Only available when Fast Boot is Enabled.
Post Delay Time: initially it is advisable to set it to 5 seconds, to see messages in case anything got pear-shaped. After Windows in installed you can lower it to 1 second.
Boot up NumLock State: I prefer it set to OFF.
Windows 10/11 install: click on the SATA drive. Once installed, click on the 1st M.2 drive.
Tool tab
Publish HII Resources: Enable to gives access to BIOS settings values through Windows using a special application.
Asus User Profile: this lets you to store up to 8 Profiles. Much useful in the initial install stages.
Asus Armoury Crate: by default set to Enable. Disable if you will not download and use this utility set.